Statically provisioning persistent volumes
You can mount existing compute volumes to pods using static provisioning of persistent volumes.
To mount a compute volume
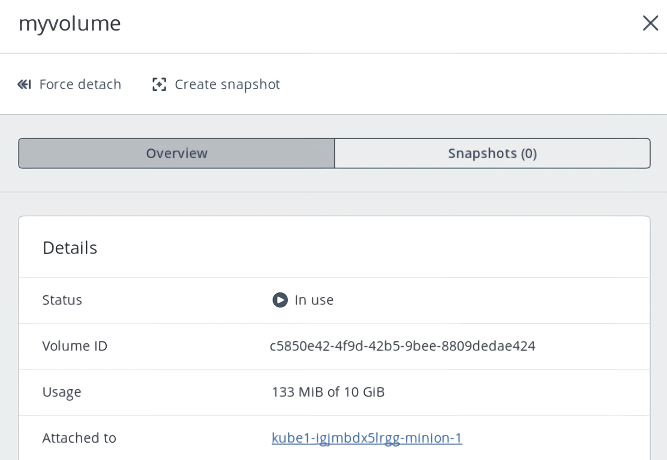
- In the self-service panel, obtain the ID of the desired volume.
-
Access the Kubernetes cluster via the dashboard. Click Kubernetes access for instructions.
-
On the Kubernetes dashboard, create a storage class, as described in Creating storage classes.
-
Create a persistent volume. To do it, click + Create and specify the following YAML file:
apiVersion: v1
kind: PersistentVolume
metadata:
  annotations:
    pv.kubernetes.io/provisioned-by: cinder.csi.openstack.org
  name: mypv
spec:
  accessModes:
  - ReadWriteOnce
  capacity:
    storage: 10Gi
  csi:
    driver: cinder.csi.openstack.org
    fsType: ext4
    volumeHandle: c5850e42-4f9d-42b5-9bee-8809dedae424
  persistentVolumeReclaimPolicy: Delete
  storageClassName: default
This manifest specifies the persistent volume mypv from the storage class default that has 10 GiB of storage and access mode that allows it to be mounted in the read/write mode by a single node. The PV mypv uses the compute volume with the ID c5850e42-4f9d-42b5-9bee-8809dedae424 as backing storage.
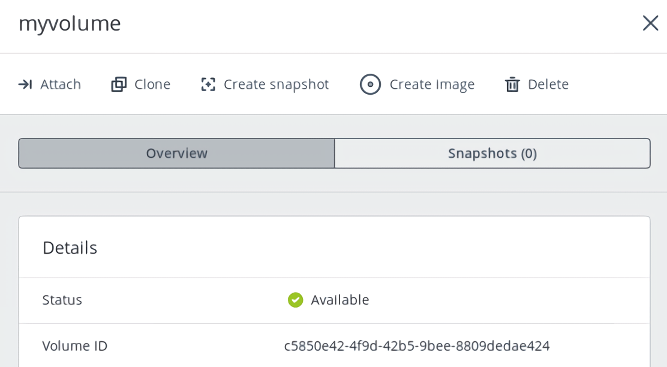
- Create a persistent volume claim. Before you define the PVC, make sure the PV is created and has the status “Available”. The existing PV must meet the claim’s requirements to storage size, access mode and storage class. Click + Create and specify the following YAML file:
apiVersion: v1
kind: PersistentVolumeClaim
metadata:
  name: mypvc
spec:
  accessModes:
  - ReadWriteOnce
  resources:
    requests:
      storage: 10Gi
  storageClassName: default
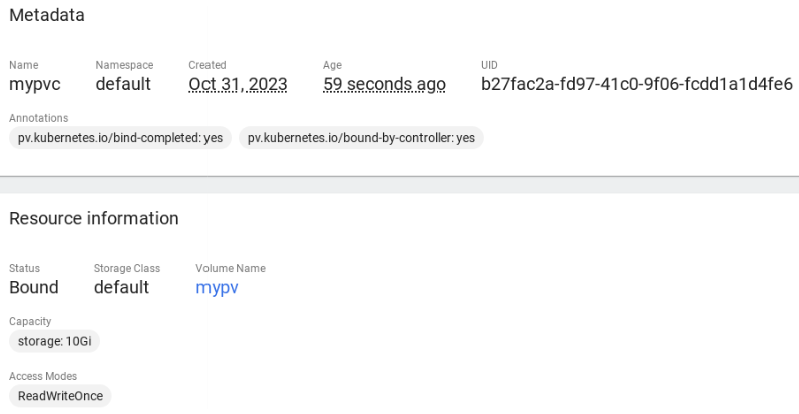
Once the persistent volume claim mypvc is created, the volume mypv is bound to it.
- Create a pod and specify the PVC as its volume. Use the example from Step 4 in Dynamically provisioning persistent volumes.
In the self-service panel, the compute volume will be mounted to the virtual machine running the Kubernetes pod.